Glitter cup tutorial.
Glitter cups!!
I love this next project! I see these cups and smile. I had a gathering at my house about a year ago and fought to win this cup! My daughter and her friend each wanted one also so, I decided to make a few myself.
First stop at your local gas station. I used a 16oz. refillable cup (with the cup, lid and straw they only charge .25 cents)

Next, came the oodles of mod podge and glitter. I just purchased a $2.50 bottle of glitter and the mod podge that dries clear. I coated the cup in modpodge then poured glitter all over it then put another layer of mod podge. I then walked away from the cups for a few hours to let them dry. I came back after a few hours and added another layer of mod podge and glitter. I repeated this a few times but remember the last layer MUST be modpodge otherwise your cup will shed the glitter. Overnight drying time is usually best. But if you are impatient like my daughter was you can always use the blow dryer to dry it faster.
Here is how the cup should start to look

Once you have achieved your desired look let it dry then it is time to add some bling bling.

I took different colors of ribbon and cut them at different lengths. I let my daughter and her friend choose what colors they wanted on their cups. I tied the stacks of ribbon together then hot glued them onto the cup. I also did a thick ribbon band around the entire cup.

There are endless colors and possibilities with these cups! I have included a gift card for drinks to maverik inside the cup when giving it as a gift. Or I have also given a can of pop with the cup. You could also fill the cup with candy! I have learned that our local maverik considers this a “refillable” cup so if you use it at their store they will give you the refill price on soda!
Disclaimer: These cannot be washed on the exterior and are not dishwasher safe! To wash – use soap and water just on the inside of the cup.

You May Also Like
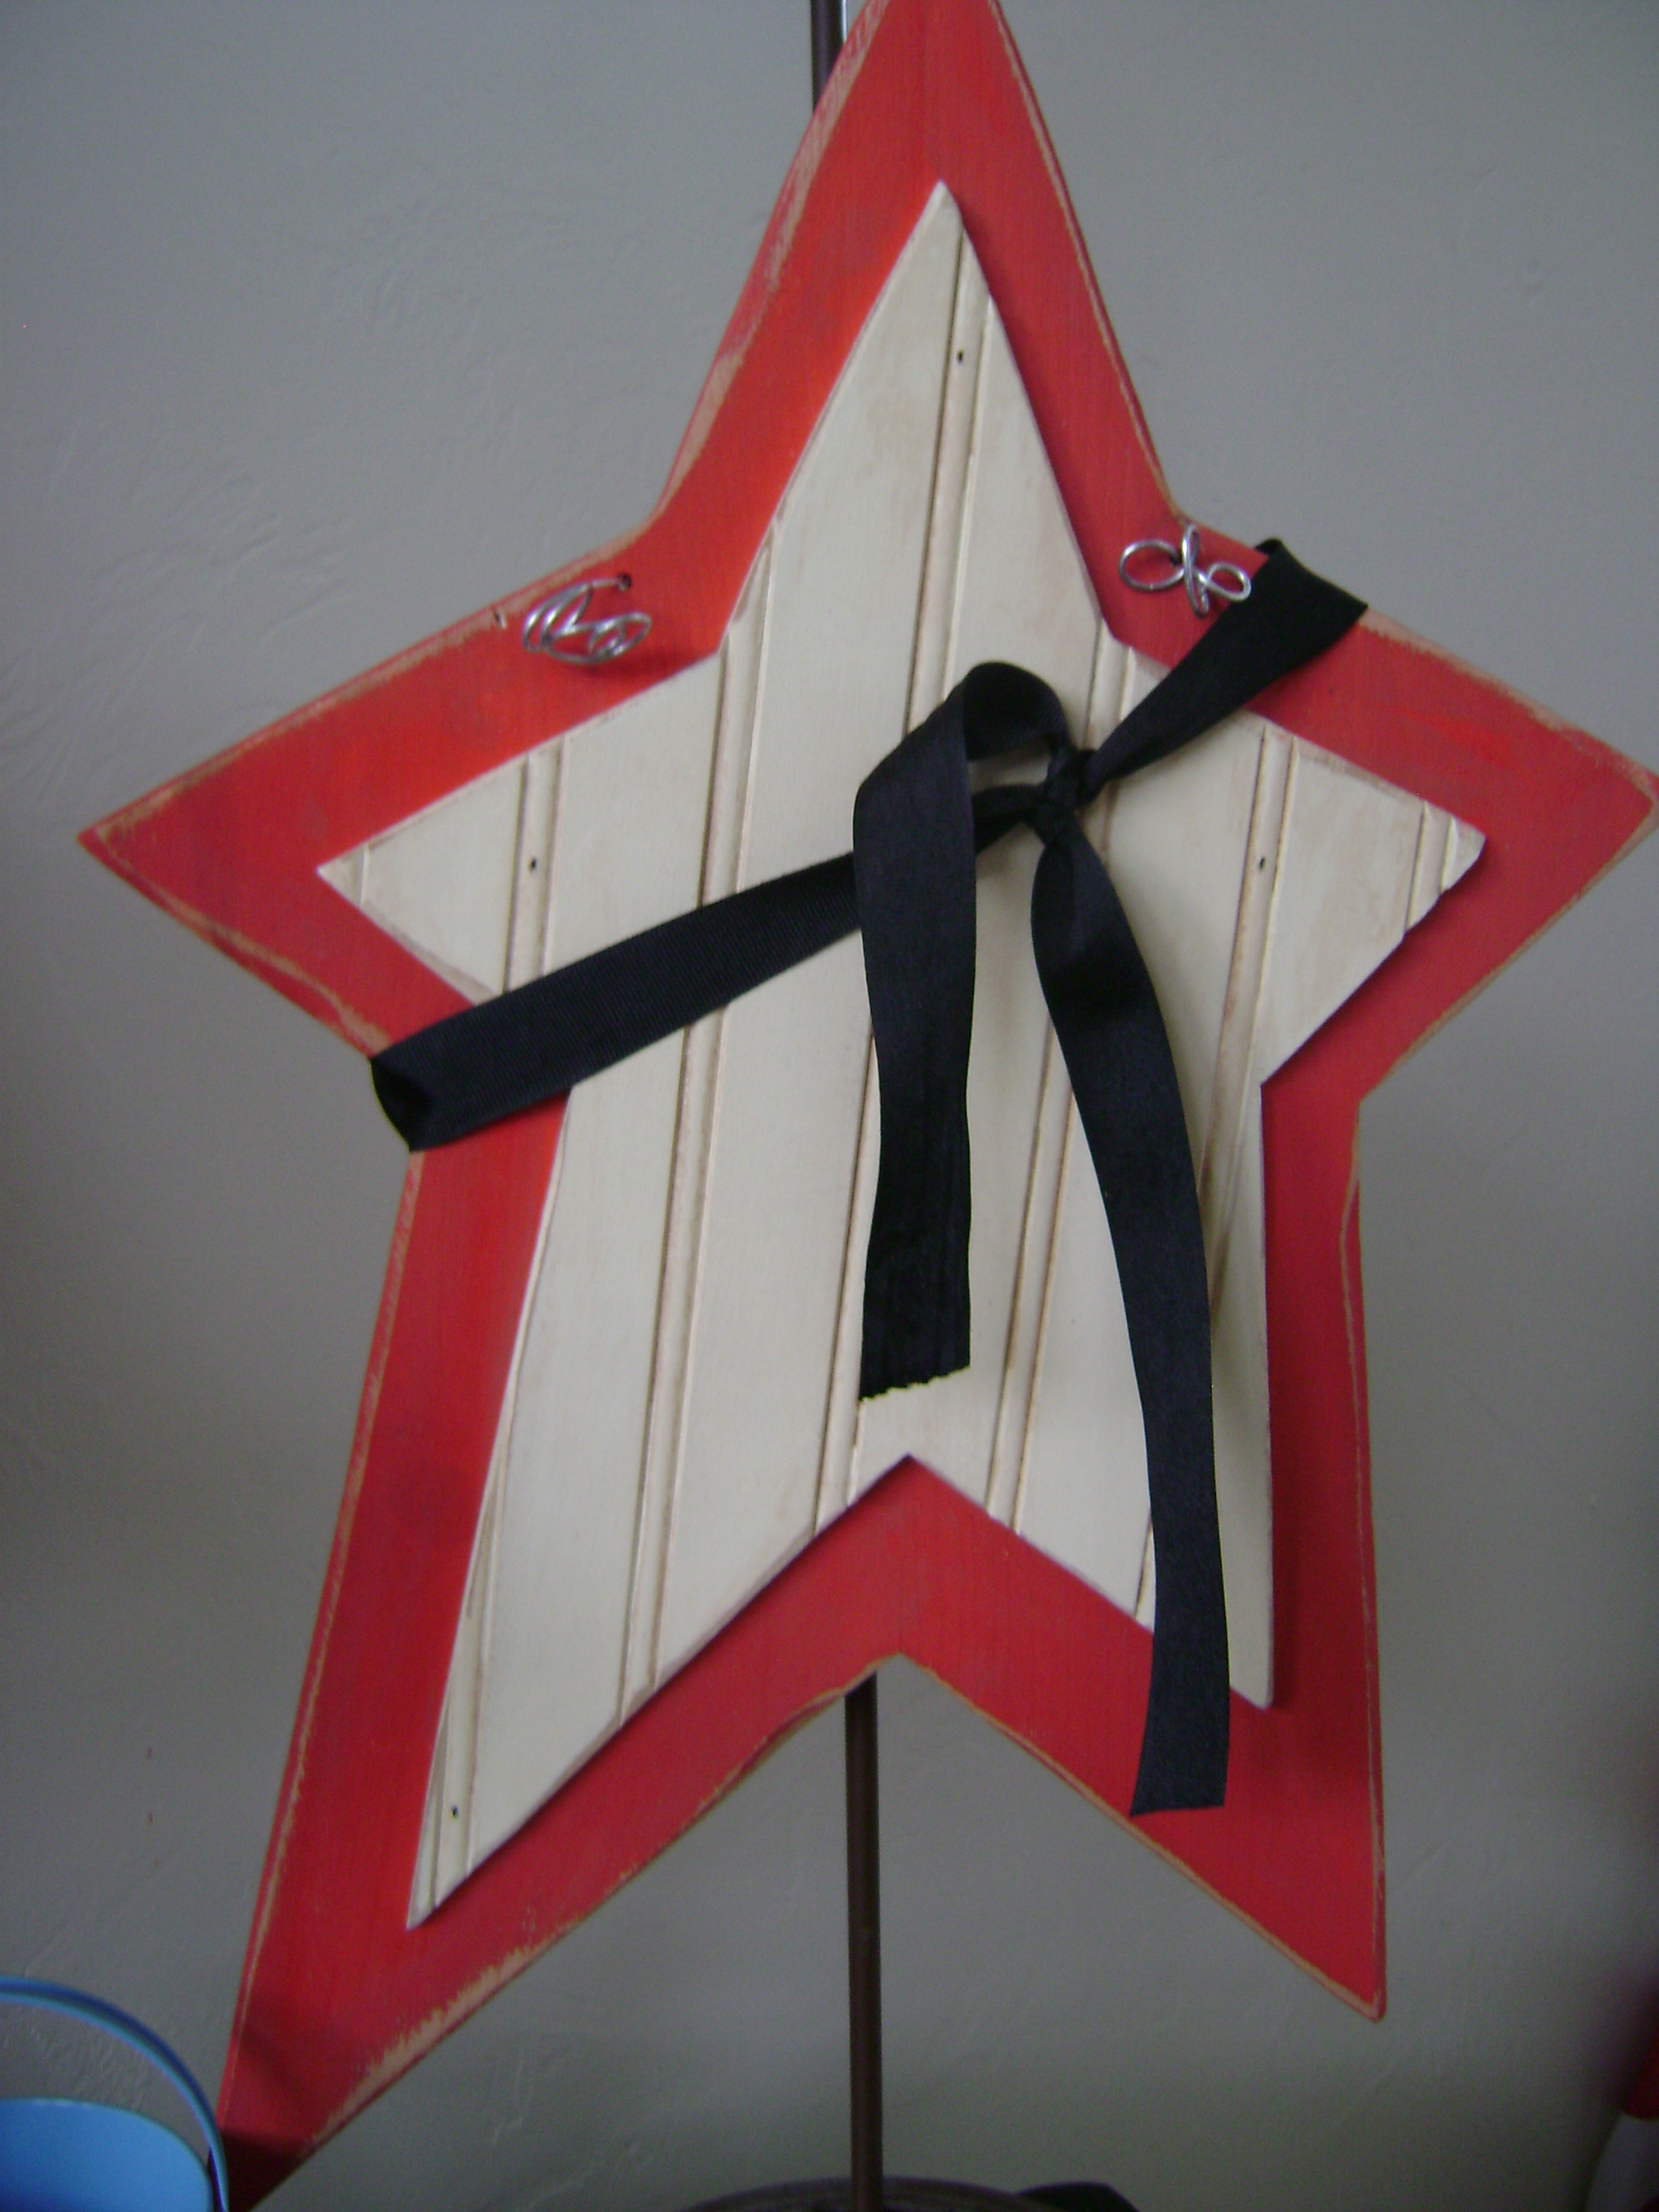
Beadboard 4th of July Star

Pumpkin on a pedestal